
What is Webpack and Why Should Every Developer Know It
Table of Contents
In today’s web development, it’s important to make our work more efficient and improve performance. That’s where Webpack comes in. If you’re working with modern JavaScript frameworks, you’ve probably heard of Webpack. But what is it, and why should you care?
In simple terms, Webpack is a tool that helps developers bundle things like JavaScript, CSS, images, and other files into smaller, faster packages. It does more than just bundle—things like code splitting, lazy loading, and hot module replacement help make websites run faster and make development easier.
So, why should every developer know how to use Webpack? Whether you’re building small apps or large, complex websites, knowing Webpack can make your code run better, load faster, and make your development process smoother.
In this blog, we’ll explain the key concepts of Webpack, how it works, and why it’s something every web developer should learn. Keep reading!
Key Concepts of Webpack
Understanding the core concepts of Webpack is essential to using it effectively in your projects, from defining the entry point to managing dependencies and outputs. Here we have broken down the key components to help you get started with Webpack and make the most of its features.
I. Entry:
The entry point is where Webpack starts the bundling process. Typically, it’s a JavaScript file that serves as the entry point for your application. Webpack reads this file and identifies all the other modules (like other JavaScript files or assets) that need to be bundled together.
Example: If index.js is your entry point, Webpack will start from this file and process all its dependencies.
II. Output:
The output configuration tells Webpack where to save the bundled files. You can specify the folder and filename for the final bundled files. This makes it easier to control where the final build will be placed and how it’s named.
Example: You might set the output folder as dist/ and the filename as bundle.js.
III. Loaders:
Loaders allow Webpack to transform files before they are bundled. For instance, CSS or image files aren’t JavaScript, but Webpack can process them through loaders. A popular loader is style-loader, which injects CSS into the DOM as a <style> tag, or url-loader, which can turn images into base64 encoded strings.
Example: Using babel-loader, Webpack can transform ES6 JavaScript code into ES5, making it compatible with older browsers.
IV. Plugins:
Plugins extend Webpack’s functionality and can perform more complex tasks like optimizing builds, minifying code, or injecting environment variables. They can perform tasks that can’t be done with loaders alone. For example, HtmlWebpackPlugin generates an HTML file with the bundled JavaScript files.
Example: A plugin like TerserWebpackPlugin can minify your JavaScript code to reduce its size and improve performance.
V. Module Resolution:
Webpack’s module resolution is how it locates and includes dependencies in your project. When a file imports a module, Webpack uses the module resolution mechanism to find that module, whether it’s in a local file, node_modules, or somewhere else.
Example: If your code imports import { function1 } from ‘./utils’, Webpack will look for the utils.js file and include it in the final bundle.
As you have a thorough understanding of these concepts, you can now effectively use Webpack in your projects. With this knowledge, you can optimize your build process, improve application performance, and handle complex workflows with ease.
Ready to build powerful, high-performance web applications? Hire a Frontend Developer from Capital Numbers to create high-performance web solutions with expertise in Webpack, React, Angular, and more.
What Are the Benefits of Using Webpack?
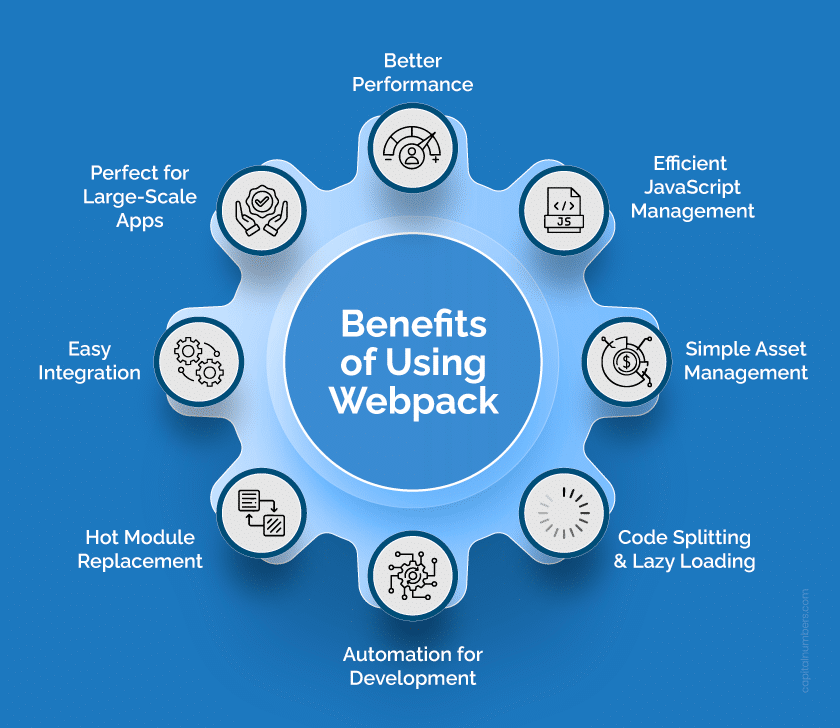
Webpack is a game-changer for web development. It offers powerful features that make building and optimizing web applications easier. Here’s why it’s such a popular tool among developers:
1. Better Performance for Your App
Webpack bundles all your assets – JavaScript, CSS, images – into a few optimized files, which helps reduce the number of requests the browser has to make. This makes your web application faster and more efficient. When everything’s bundled together, your app loads quicker, which is great for performance and user experience.
2. Efficient JavaScript Management
As a JavaScript bundler, Webpack lets you handle all your JavaScript files and dependencies with ease. Instead of loading multiple scripts separately, Webpack bundles everything into one or a few files, making it much cleaner and faster for the browser to load.
3. Simple Asset Management
Webpack doesn’t just work with JavaScript – it also handles CSS, HTML, and image files. You can configure how these assets are bundled, compressed, and optimized. For example, it can automatically reduce the file size of your images or CSS, speeding up your site even more.
4. Code Splitting and Lazy Loading
Webpack can split your code into smaller, more manageable chunks. This means only the necessary code gets loaded when needed, rather than everything at once. Lazy loading ensures that parts of the app load when required, reducing the initial loading time and making your app faster.
5. Automation for Development
Webpack helps automate various tasks that can slow you down during development. With front-end workflow automation, you can automate things like code minification, transpiling newer JavaScript versions into older ones for compatibility, and reloading the browser without refreshing the page.
6. Hot Module Replacement (HMR)
HMR is a Webpack feature that lets you instantly see your changes in the browser without needing a full page refresh. This makes developing faster and easier, as you can debug or test new features without waiting for the whole page to reload.
7. Easy Integration with Front-End Tools
Webpack integrates well with popular front-end development tools and frameworks like React, Angular, and Vue.js. Whether you’re using one of these tools or not, Webpack makes asset management, module bundling, and keeping your project organized much easier.
8. Perfect for Large-Scale Apps
For bigger applications, Webpack shines with tree shaking (removing unused code) and caching (keeping parts of your app loaded when there are updates). This keeps everything running smoothly and quickly, no matter how big your app gets.
Webpack is a great tool for enhancing web applications for better performance. Whether you’re managing assets, automating tasks, or speeding up your build process, Webpack is an essential tool for front-end developers building scalable applications.
Steps to Install Webpack
Setting up Webpack for your project is quick and easy and can enhance your front-end development process. Here’s how to get started with Webpack:
Step 1: Initialize Your Project
First, create a new project directory (or use an existing one) and navigate it using the terminal. Then, initialize your project with npm (Node Package Manager) by running:
npm init -y
This creates a package.json file, which will hold all the dependencies for your project.
Step 2: Install Webpack and Webpack CLI
Next, you need to install Webpack and the Webpack CLI (Command Line Interface) so you can run Webpack from the terminal. You can install them as development dependencies by running:
npm install --save-dev webpack webpack-cli
Step 3: Create a Webpack Configuration File
After installation, you need a configuration file to tell Webpack how to bundle your modules. Create a file named webpack.config.js in your project’s root directory:
const path = require('path');
module.exports = {
    entry: './src/index.js',  // Entry point of your app
    output: {
    filename: 'bundle.js',  // Output file name
    path: path.resolve(__dirname, 'dist')  // Output directory
    }
};
In this example:
- The entry point is where Webpack starts bundling your JavaScript files (usually index.js).
- The output tells Webpack where to place the bundled files (here, in a folder called dist).
Step 4: Create Source Files
Create the src folder and add a file called index.js. This will be the entry point for your app.
// src/index.js
console.log('Hello, Webpack!');
Step 5: Run Webpack
To run Webpack and bundle your project, simply add a build script in your package.json file:
"scripts": {
"build": "webpack"
}
Now, you can run the following command to bundle your JavaScript:
npm run build
Webpack will process the index.js file and bundle it into a single bundle.js file in the dist folder.
Step 6: Use Webpack with Other Front-End Tools (Optional)
Webpack can be extended by adding loaders and plugins to handle other assets like CSS, images, or fonts. For example, you can add the style-loader and css-loader to handle CSS files:
npm install --save-dev style-loader css-loader
Then update your webpack.config.js to use these loaders:
module.exports = {
entry: './src/index.js',
output: {
    filename: 'bundle.js',
    path: path.resolve(__dirname, 'dist')
},
module: {
    rules: [
    {
        test: /\.css$/,
        use: ['style-loader', 'css-loader']
    }
    ]
}
};
Step 7: Automate Front-End Workflow
For faster development, you can automate tasks like live reloading using Webpack’s development server:
npm install --save-dev webpack-dev-server
Then, update your package.json to add a start script:
"scripts": {
"start": "webpack serve --open"
}
Now, running npm start will launch a local server and automatically open your app in the browser. Any changes you make will automatically refresh the page, streamlining your front-end workflow automation.
By following these steps, you’ve successfully set up Webpack for your project. Now you can start bundling your assets, optimizing performance, and enhancing the overall efficiency of your development process.
Common Challenges and Best Practices to Follow
While Webpack offers great benefits for front-end development, it’s not without its challenges. Here are some common hurdles and the ways to combat them when using Webpack to ensure your projects run smoothly:
Handling Complex Configuration
One of the most common challenges with Webpack is its configuration. Properly setting up Webpack, especially for large applications, can be tricky.
Best Practice:
Start with a simple configuration and add more features as needed. Take advantage of Webpack’s flexibility, but don’t overcomplicate things. Also, use Webpack Dev Server for easier development and testing.
Performance Blocks
Webpack can sometimes cause performance issues, especially with large projects with many dependencies. Module bundling too many files or not using caching can slow your build times.
Best Practice:
Use code splitting to break your code into smaller chunks. This way, only the necessary code is loaded, speeding up initial load times. Additionally, implement tree shaking to remove unused code, ensuring you only bundle what’s needed.
Managing Assets Efficiently
It can be challenging to handle images, CSS, and fonts efficiently. Bundling large files without optimization can lead to slower load times.
Best Practice:
Use loaders for asset management. Tools like url-loader and file-loader can help you optimize and bundle images and fonts. Also, you can use image compression techniques to reduce file sizes.
Optimizing for Performance
One of the biggest benefits of Webpack is its ability to optimize web applications for better performance. However, without proper configuration, you might not be using it to its full potential.
Best Practice:
Always enable minification for JavaScript and CSS files. You can use TerserPlugin for JS and css-minimizer-webpack-plugin for CSS to reduce the file size. Also, configure caching to make your app faster for returning visitors.
Dealing with Dependency Management
Managing and resolving dependencies in large projects can be a headache. Having too many plugins or libraries can make it hard to track everything.
Best Practice:
Keep your front-end development tools up-to-date. Regularly audit your dependencies using tools like npm audit. Be sure to remove unnecessary dependencies to keep your project clean and maintainable.
Handling Different Environments
You might need different configurations for development, staging, and production environments, which can become tricky to manage.
Best Practice:
Use environment variables and separate Webpack configurations for different environments. This helps maintain cleaner builds and ensures your project runs smoothly across all stages of development.
Front-End Workflow Automation
Automating your front-end workflow can save you a lot of time, but Webpack’s initial setup can be daunting for beginners.
Best Practice:
Use Webpack in conjunction with Gulp or Grunt for task automation. Set up your tasks to handle repetitive actions like code minification, image optimization, and file renaming, which helps improve productivity.
By following these best practices and understanding Webpack’s challenges, you can unlock its full potential. It can improve your front-end development workflow, speed up your build process, and optimize web applications to improve performance.
You May Also Read: The Future of Front-End Development: Trends and Technologies to Watch
Frequently Asked Questions
1. What is the difference between Webpack and other bundlers like Gulp or Browserify?
Webpack bundles not just JavaScript, but also assets like CSS, images, and fonts, making it more powerful than Gulp, which is mainly a task runner. Browserify focuses on JavaScript, while Webpack manages all kinds of assets, making it a complete solution for web apps.
2. How does Webpack handle assets like images, CSS, and fonts?
Webpack uses Loaders to manage assets like images, CSS, and fonts. It can bundle and optimize these assets so they load faster. For example, it can convert CSS to optimized files or compress images for better performance.
3. How does Webpack optimize web application performance?
Webpack optimizes performance by bundling and minimizing files, reducing the number of HTTP requests. It also uses code splitting to load only necessary chunks, speeding up initial load times. Tree shaking removes unused code, making your app faster and more efficient.
4. What is code splitting in Webpack and how does it improve performance?
Code splitting breaks up your code into smaller pieces, or “chunks,” that only load when needed. This means your app loads faster, especially for larger projects, because it doesn’t have to load everything at once.
5. When to use Webpack in the development process?
You should use Webpack when you’re working with JavaScript, CSS, or any assets in your web project. It’s especially helpful for improving performance by bundling and optimizing your code, making it a great choice for projects that need faster load times and smooth performance.
Bottom Line
Webpack is a key tool for developers who want to make their web applications faster and more efficient. As the web keeps changing, Webpack will evolve, helping developers build scalable and high-performing sites. Whether you’re optimizing assets, automating tasks, or improving load times, Webpack offers features that keep your project ahead. By learning Webpack now, you’ll be prepared for the future of web development and ready to create applications that meet the needs of today’s users.