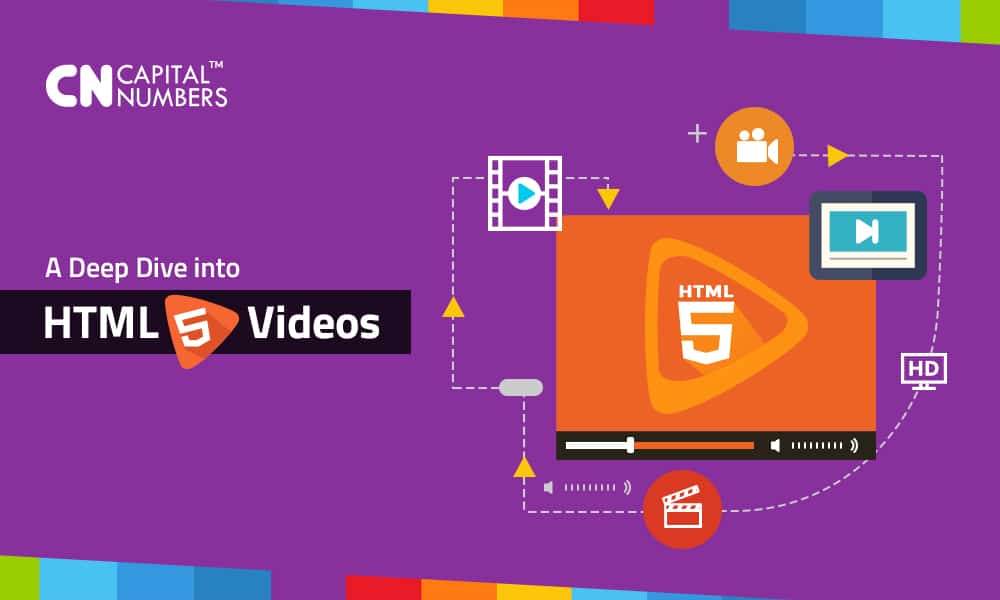
A Deep Dive into HTML5 Videos
It’s a fact that web developers have been fraught with browser compatibility when it comes to embedding videos in their content. Besides knowing the right HTML5 syntax, you have to determine how legacy browsers implement HTML5 video web standards.
However, the fact that you’ve known the right syntax and which legacy browsers supports and implements HTML5 doesn’t make you a better web developer. For you to develop a modern, responsive and usable website which contains videos, you’ve to understand not only the right syntax but also best practices of embedding videos in web pages in HTML5.
In “A Deep Dive into HTML5 Videos” we explore how video content streaming works, how to prepare videos to be embedded in HTML content and the procedures of adding video content to HTML documents. So, let’s get started
What is video streaming?
The video content that you watch on the internet whether from YouTube or any video streaming website comes in a smaller portion of videos. However, when you’re watching this content, what you don’t know is that the video being displayed has been encoded using different bitrates and resolutions produces the smaller chunks of data that you see on your browser, a process known as video streaming.
Modern web browsers such as Google Chrome, Firefox, and Microsoft Edge can play the videos directly. However, the video content has to be presented in standards that are accepted in HTML5. Some of these standards that are supported are: .mp4, .ogv, and .webm.
How to prepare video content for streaming in HTML5?
Before you can embed any video content into a web page, you must first, convert the video content that you want to add to your website into a file format which is supported on most devices and browsers. Some of the common formats include: .mp4, .ogv, and the .webm.
There are a number of applications that can help you convert video content into file formats supported on most modern browsers. For instance, you can use the JW Player.
How to add video streaming content to HTML page
Now that you’ve prepared your video for streaming, it’s now time to add that content to your web pages. In HTML5, you’ll use the HTML tag: <VIDEO>. The basic <VIDEO> tag has a number of attributes that can help you to specify other characteristics of the video which you want to stream. Below are examples of these attributes:
The “src” attribute specifies the URL of the video. Here’s an example:
<video width=”as per need” height=”as per need” controls> <source src=”XYZ.mp4″ type=”video/mp4″> <source src=”XYZ.ogg” type=”video/ogg”> <source src=”XYZ.webm” type=”video/webm”>
Your browser does not support the video tag.
</video>
autoplay. It notifies the browser to start downloading the video and play whenever a web page is loaded in a browser.
preload. It notifies the web browser whether the optimistic downloading of the video’s metadata is important or not.
poster. It indicates the image that should be displayed before the video is loaded on a web browser.
controls. They are used to display the default video controls such as the play and the pause buttons.
height. It specifies the height of the video in pixels.
width. It specifies the width of the video in pixels.
loop. It is used to automatically loop the video, the moment the video has finished playing.
muted. It is used to mute the video initially.
Want to see a quick process in action? Copy and paste the HTML5 code below into your favorite HTML editor and save it as “.html.” Next, open the web page in your favorite browser.
<! DOCTYPE html>

<html>

<head>

<title></title>

</head>

<body>

<video width="as per need" height="as per need" controls>

<source src="XYZ.mp4" type="video/mp4">

<source src="XYZ.ogg" type="video/ogg">

<source src="XYZ.webm" type="video/webm">

Your browser does not support the video tag.

</video>

</body>

</html>
There you have it. Feel free to contact us in case you have any query.